How to install led lights with LED lights with installation guide
Guide: led light strip is a very popular decoration, applied to all walks of life, in the evening when you go to the street to see a variety of shapes of LED lights, led lights have stepped into each Every household, but most people do not know how to install the led light strip, the installation of the led light belt is unreasonable in the later use of the process will have a great impact, then, in the end how to install the led light strip, in the installation process What we need to pay attention to, let's take a look at the LED light strip installation guide, please understand below.

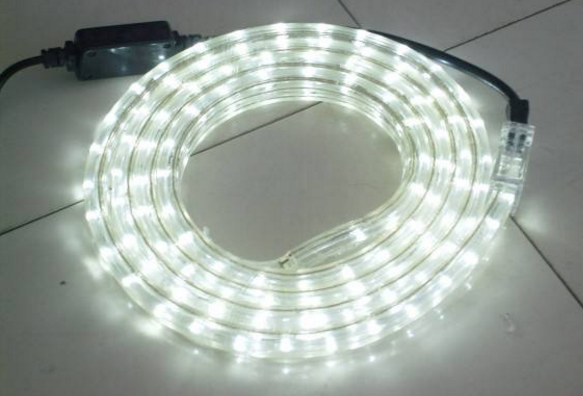
Led light strip
How to install led light strip
1, how to install the led light strip, first determine the length to be installed, and then take the integer interception because this light strip is 1 meter a unit, only cut off from the cut, will not affect the circuit, if you cut it randomly, it will cause a The unit does not light up. Example: If you need a length of 7.5 meters, the light strip will be cut 8 meters.
2, how to install the led light strip, the link plug LED itself is a diode, DC drive, so there is a positive and negative pole, if the positive and negative poles are reversed, it is in an insulated state, the light strip is not bright. If the connection plug is not energized, just remove the other end of the strip.
3. How to install the led light strip, the lamp strip is placed in the disc package, the newly disassembled lamp strip will be distorted, it is not easy to install, it can be finished flat and placed in the lamp trough. Since the light strip is single-sided, if the unevenness is placed, there will be uneven brightness and darkness, especially at the corners.
4, how to install the led light strip, there is a clip on the market for the installation of the lamp slot light, called the light belt companion, will greatly improve the installation after use
LED Strip Installation Guide
The LED light strip installation guide is as follows:
1. Indoor installation: When the LED light strip is used for interior decoration, it is very simple to install because it does not have to withstand wind and rain. First, clean the position of the wall to be attached to the light bar, and wipe off the dust or dirt that affects the adhesion of the 3M tape. The surface must be flat and clean. Otherwise the product will fall off. Each LED light strip has a self-adhesive 3M double-sided adhesive tape on the back. When installing, you can directly remove the sticker on the surface of the 3M double-sided adhesive tape, and then fix the light bar to the place where it needs to be installed. . When the product is installed, the bend should be avoided just in the position of the LED or other components, so as not to damage the product and affect the service life of the product. Please pay attention to anti-static during the installation and use of the product. Do not use sharp objects to touch the product, and avoid contact with strong chemicals such as strong acid and alkali. For the ceiling part, taking into account the gravity of the light bar itself and the pulling force of the wire, the interface is fixed by a slot every half meter, especially the place where the light bar is taken out, the fixed slot must be fixed at a distance of 0.3 meters. As for some places that need a corner or a long length, it is very simple. The LED light strip is a circuit structure consisting of three LEDs in a series-parallel manner. Each of the three LEDs can be cut and used separately. Special attention: no contact nails, metal or other conductive objects in the contact part of the light bar and the wall surface, if necessary, remove or avoid conductive objects in advance to prevent unnecessary loss of the light bar short circuit.

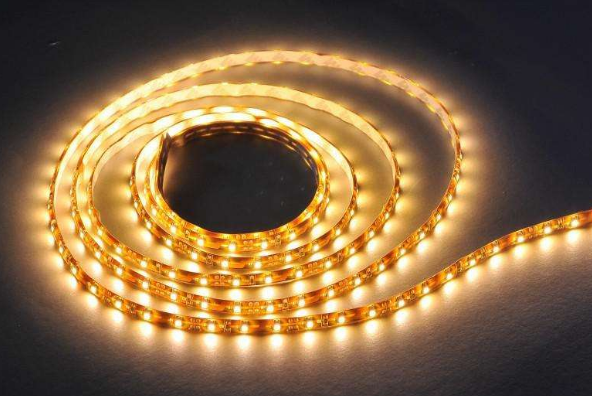
Led light strip
2, power connection method: LED light with a general voltage of 12V DC, so you need to use switching power supply, manufacturers supply power each load light bar should follow the following principles: LED switching power supply marked power X80% / light bar per meter power = The number of meters actually controlled. Each strip should not be connected in series more than 5 meters in length and then connected to the bus. For each light bar, it is recommended to use the centralized power supply centralized control. For example, each power supply has a 20-meter light bar. A 50-meter circuit can be powered by three power supplies in parallel, that is, the input power supplies are all connected in parallel (if the wire size is not enough, it can be extended) , unified by the main switching power supply. This method of operation is very convenient to install. The advantage of this is that it can be centrally controlled. It is inconvenient that the lighting effect and switching control of a single LED strip cannot be achieved, and the specific method can be measured by actual field conditions.
3, bus connector and the processing method of each LED light bar wiring: before each light bar is integrated into the total power supply, you need to carefully confirm that the access terminal is DC 12V is the power output end, should not be connected to 220VAC, access part of the light bar will All burned out and could not be repaired anymore. Be sure to confirm the electrician and then test the power.
4, common problems and solutions: 1. A certain light bar does not light, check whether all the wiring parts of the light bar are reversed, or the welding is reversed, such as reverse, can be replaced, if there is no problem with the wiring, Check that the pads on the soldering wire are soldered and soldered. 2. If part of the lamp is not lit, replace it with the manufacturer; 3. If it is found that the brightness of a certain part of the light bar is obviously dark, such as only 30-40% of the brightness, there are two possible reasons, one, the light may be shorted. For example, the part of the welding line or the short circuit that may be caused by the parallel connection with the bus; Second, the power output power is insufficient or the output voltage is not enough. If the output voltage is 12VDC, the test output voltage is only 7-8VDC, and the power supply can be replaced.
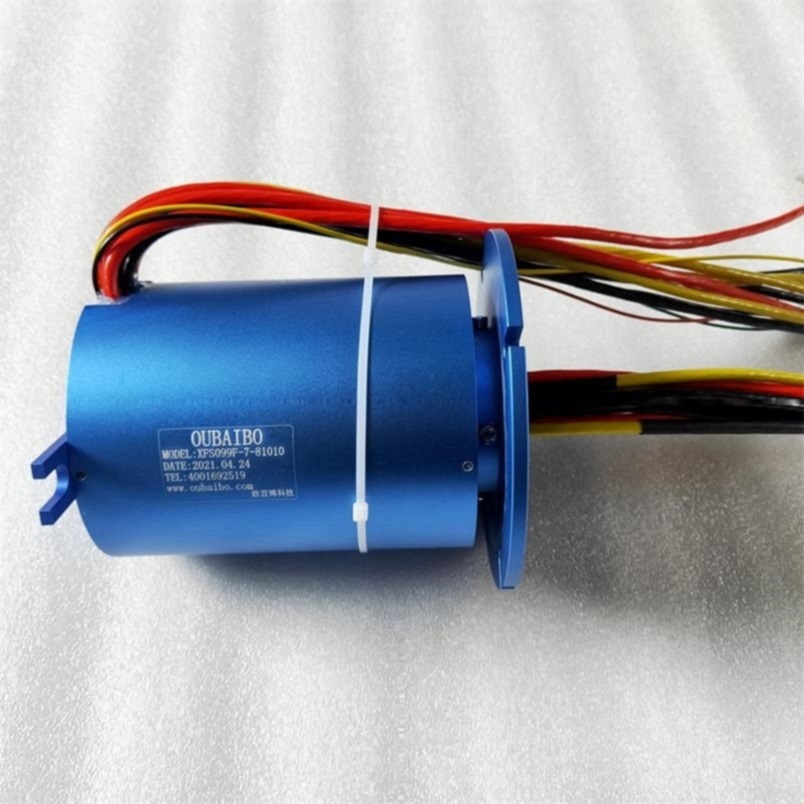
What is a Capsule Slip Ring?
Capsule slip rings are a type of electrical connector that are used to transfer power and data between two rotating objects. They are commonly used in applications where there is a need to send or receive signals from a stationary object to a rotating one, or vice versa.
How Does it Work?
Capsule slip rings work by using a series of electrical contacts that rotate with the object on which they are mounted. These contacts are spaced evenly around the circumference of the ring, and as they rotate they make and break contact with corresponding contacts on the other object. This allows power and data to be transferred between the two objects without any interruption.
Advantages of Capsule Slip Rings
There are several advantages to using capsule slip rings in place of other types of electrical connectors.
For example, the rotation of the contacts causes them to be freely accessible and therefore free from dust and debris. This makes them ideal for applications where connector maintenance is often a problem.
Because the contacts are freely accessible, they can be readily replaced if a fault occurs. They also have very low electrical resistance, making them ideal for transmitting radio frequency signals. Because of the low resistance, this type of connector is often used in high-speed data transmissions.
This type of Conductive Slip Ring is similar to the shape of a hat. The brim part is a flange with a conductive slip ring. The function of the flange is to facilitate installation. It is connected to electrical equipment through the fixing hole of the flange. It can be firmly installed on the equipment. Therefore, the stator of the cap-type slip ring is generally fixed by the outer layer with a flange, and the inner part is the rotor with the inner shaft rotating. The stator and the rotor are not fixed, and the details will be different according to the installation method.

Capsule Slip Ring,Split Ring Motor,Slip Ring Motor Connection,Slip Rings In Synchronous Motor
Dongguan Oubaibo Technology Co., Ltd. , https://www.sliprobs.com